Configure Rules for Appointment Auto Messages
Auto messages are the core of Apptoto’s automation. Once configured and turned on, Apptoto sends reminders, confirmations, and follow-ups to your appointment participants automatically — no manual action required.
Configuring Rules for your Appointment Auto Messages allows you to determine exactly which messages reach which appointments. You may create a standard message sequence for all participants or create multiple customized rules for different appointment types or settings.
How rules work
Section titled “How rules work”A rule tells Apptoto which appointments should receive a particular message sequence. Rules match appointments based on keywords in the event title or body — things like appointment type, provider name, or location.
Every account has a “For all appointments” default rule. Any appointment that doesn’t match a more specific rule falls back to this default. You can leave the default rule as your only rule, or add as many specific rules as you need.
Setting Up a Rule for Appointment Auto Messaging
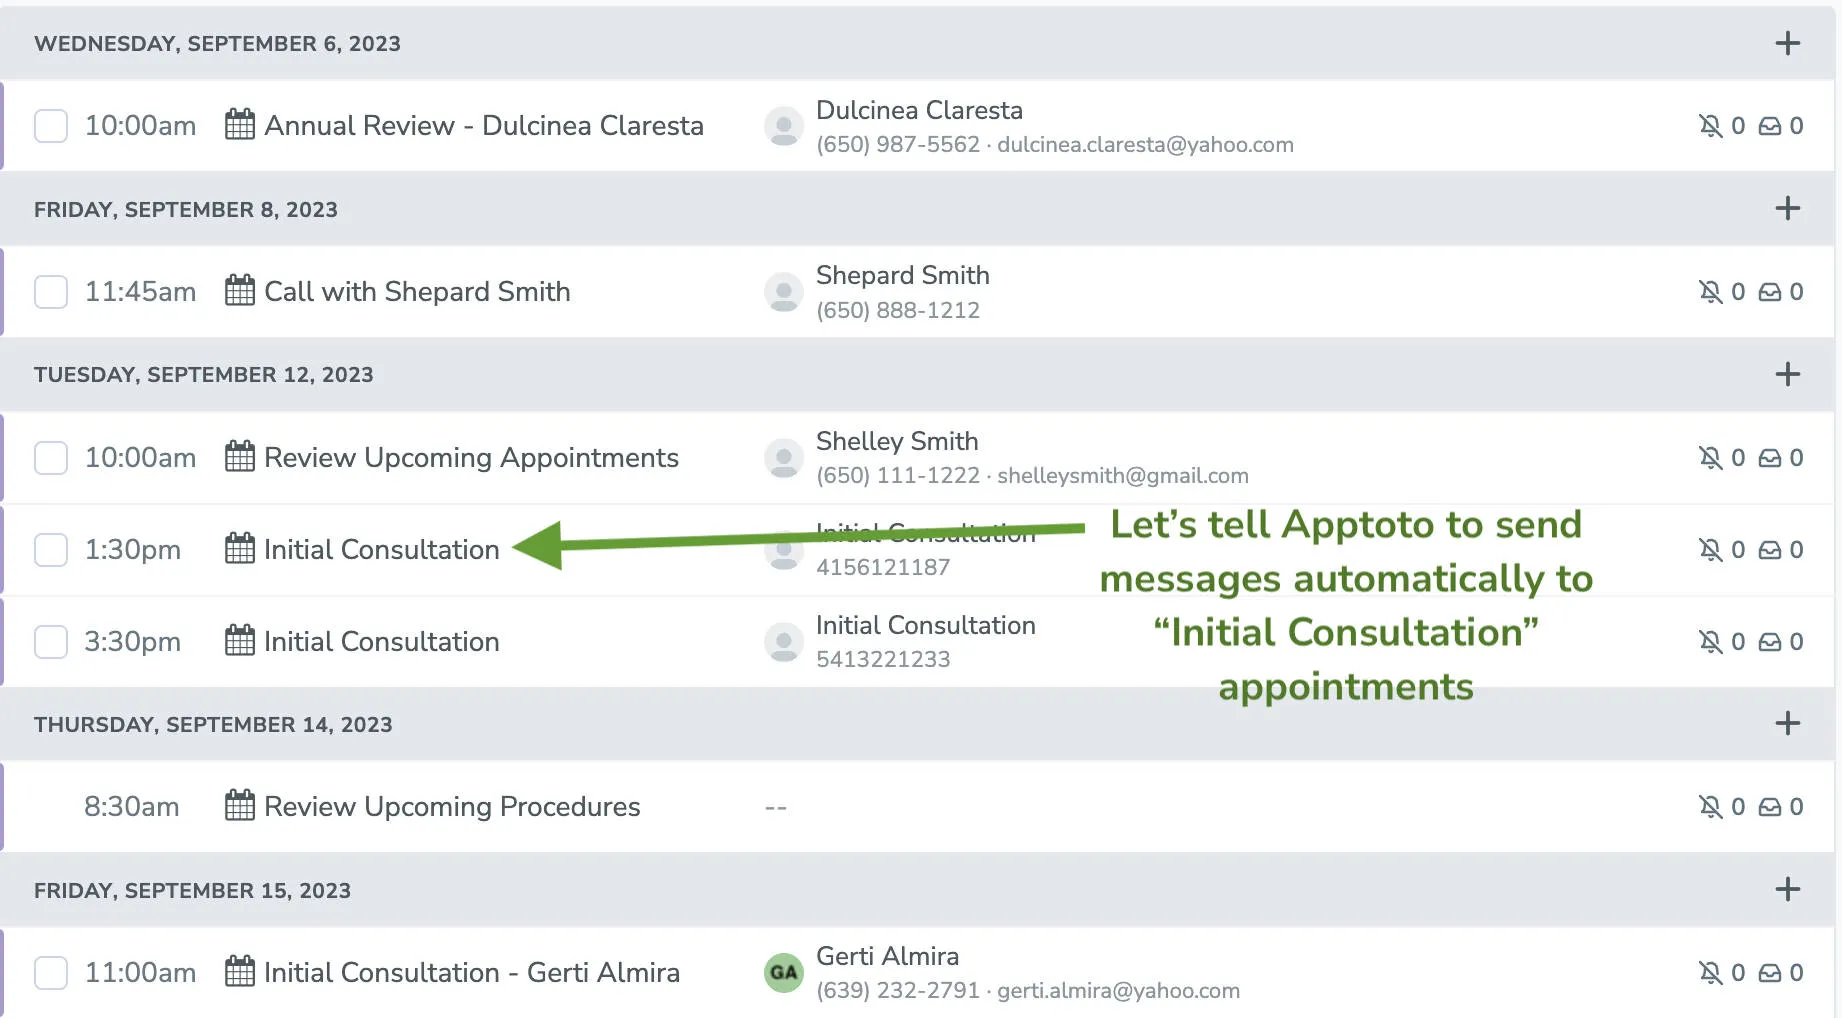
Section titled “Setting Up a Rule for Appointment Auto Messaging”This example creates a rule for appointments that contain the words “Initial Consultation.” You can follow the same steps for any keyword that fits your business.
-
Identify the keyword you want Apptoto to detect. In this case, we’re asking Apptoto to look for “Initial consultation” in the appointment event.
-
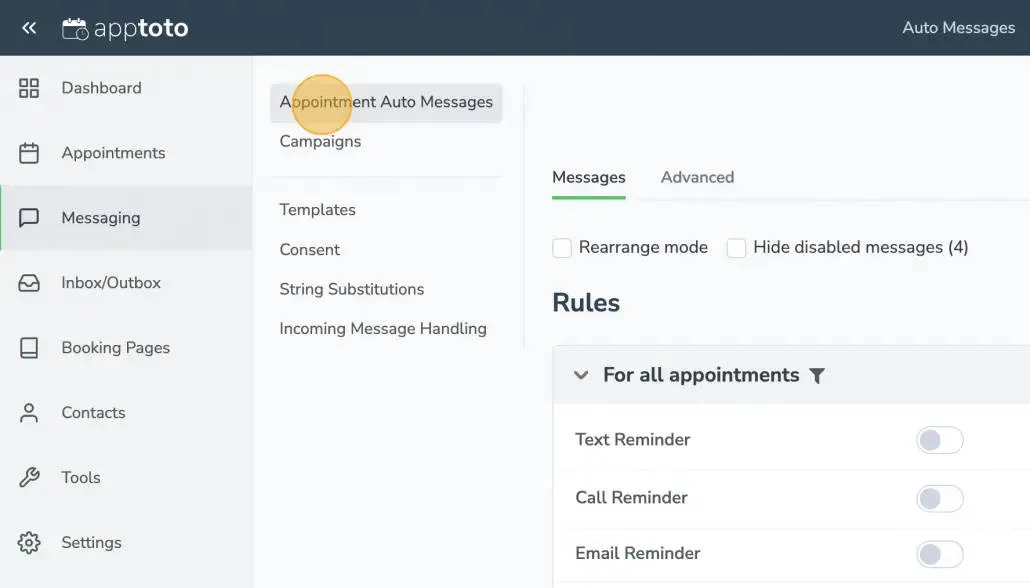
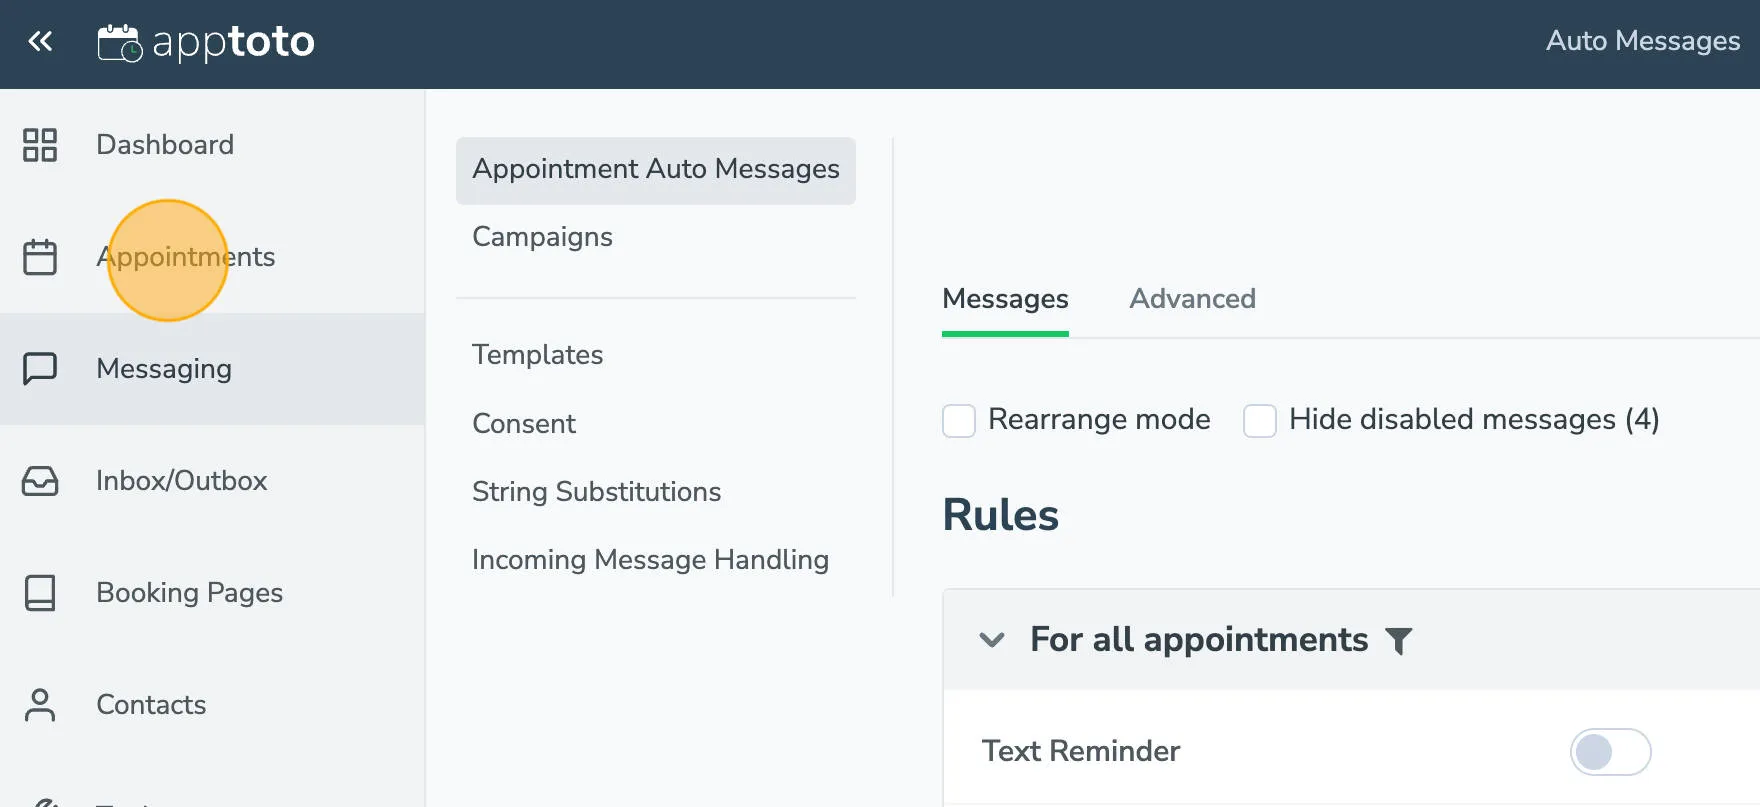
Navigate to Messaging and select Appointment Auto Messages.
-
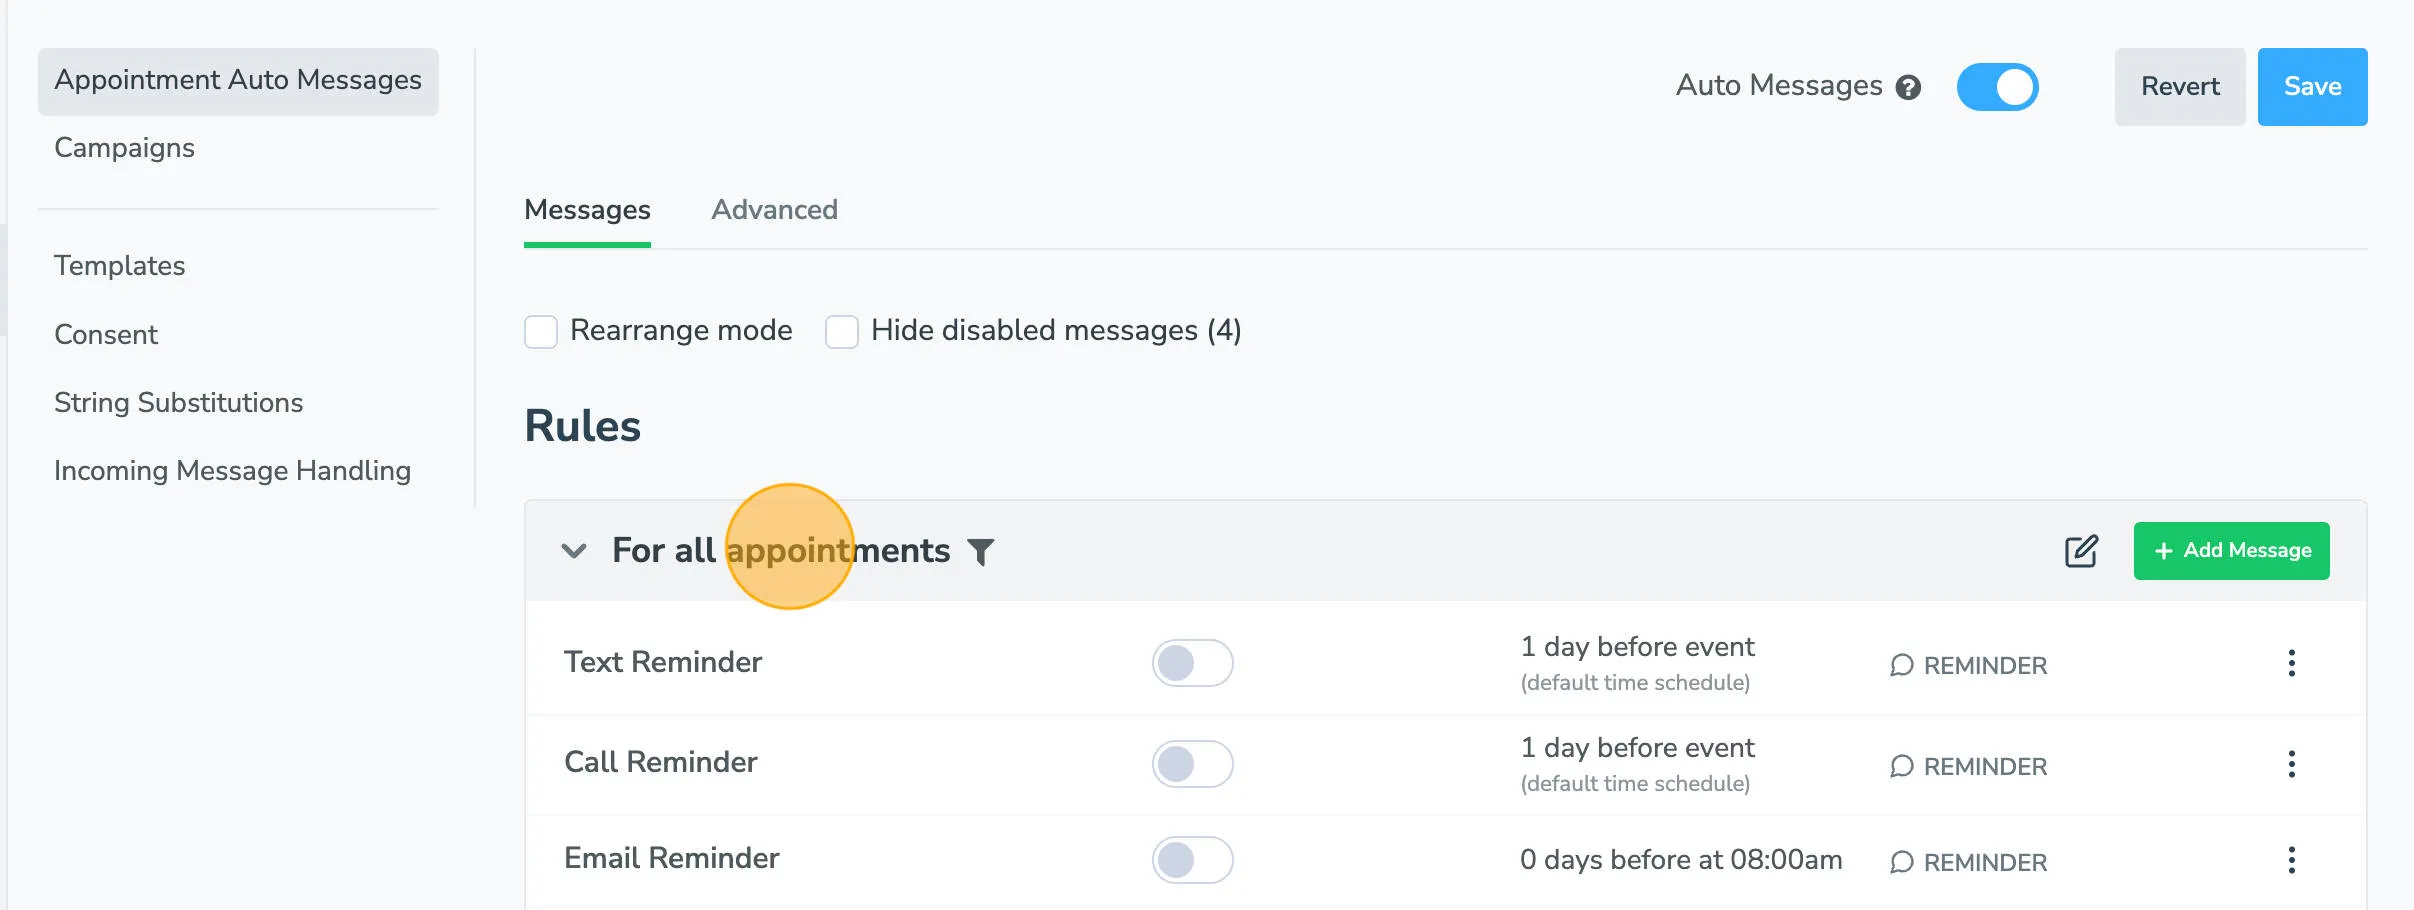
Under Rules, the For all Appointments section shows the default message sequence. This applies to any appointment that doesn’t match a more specific rule you create.
-
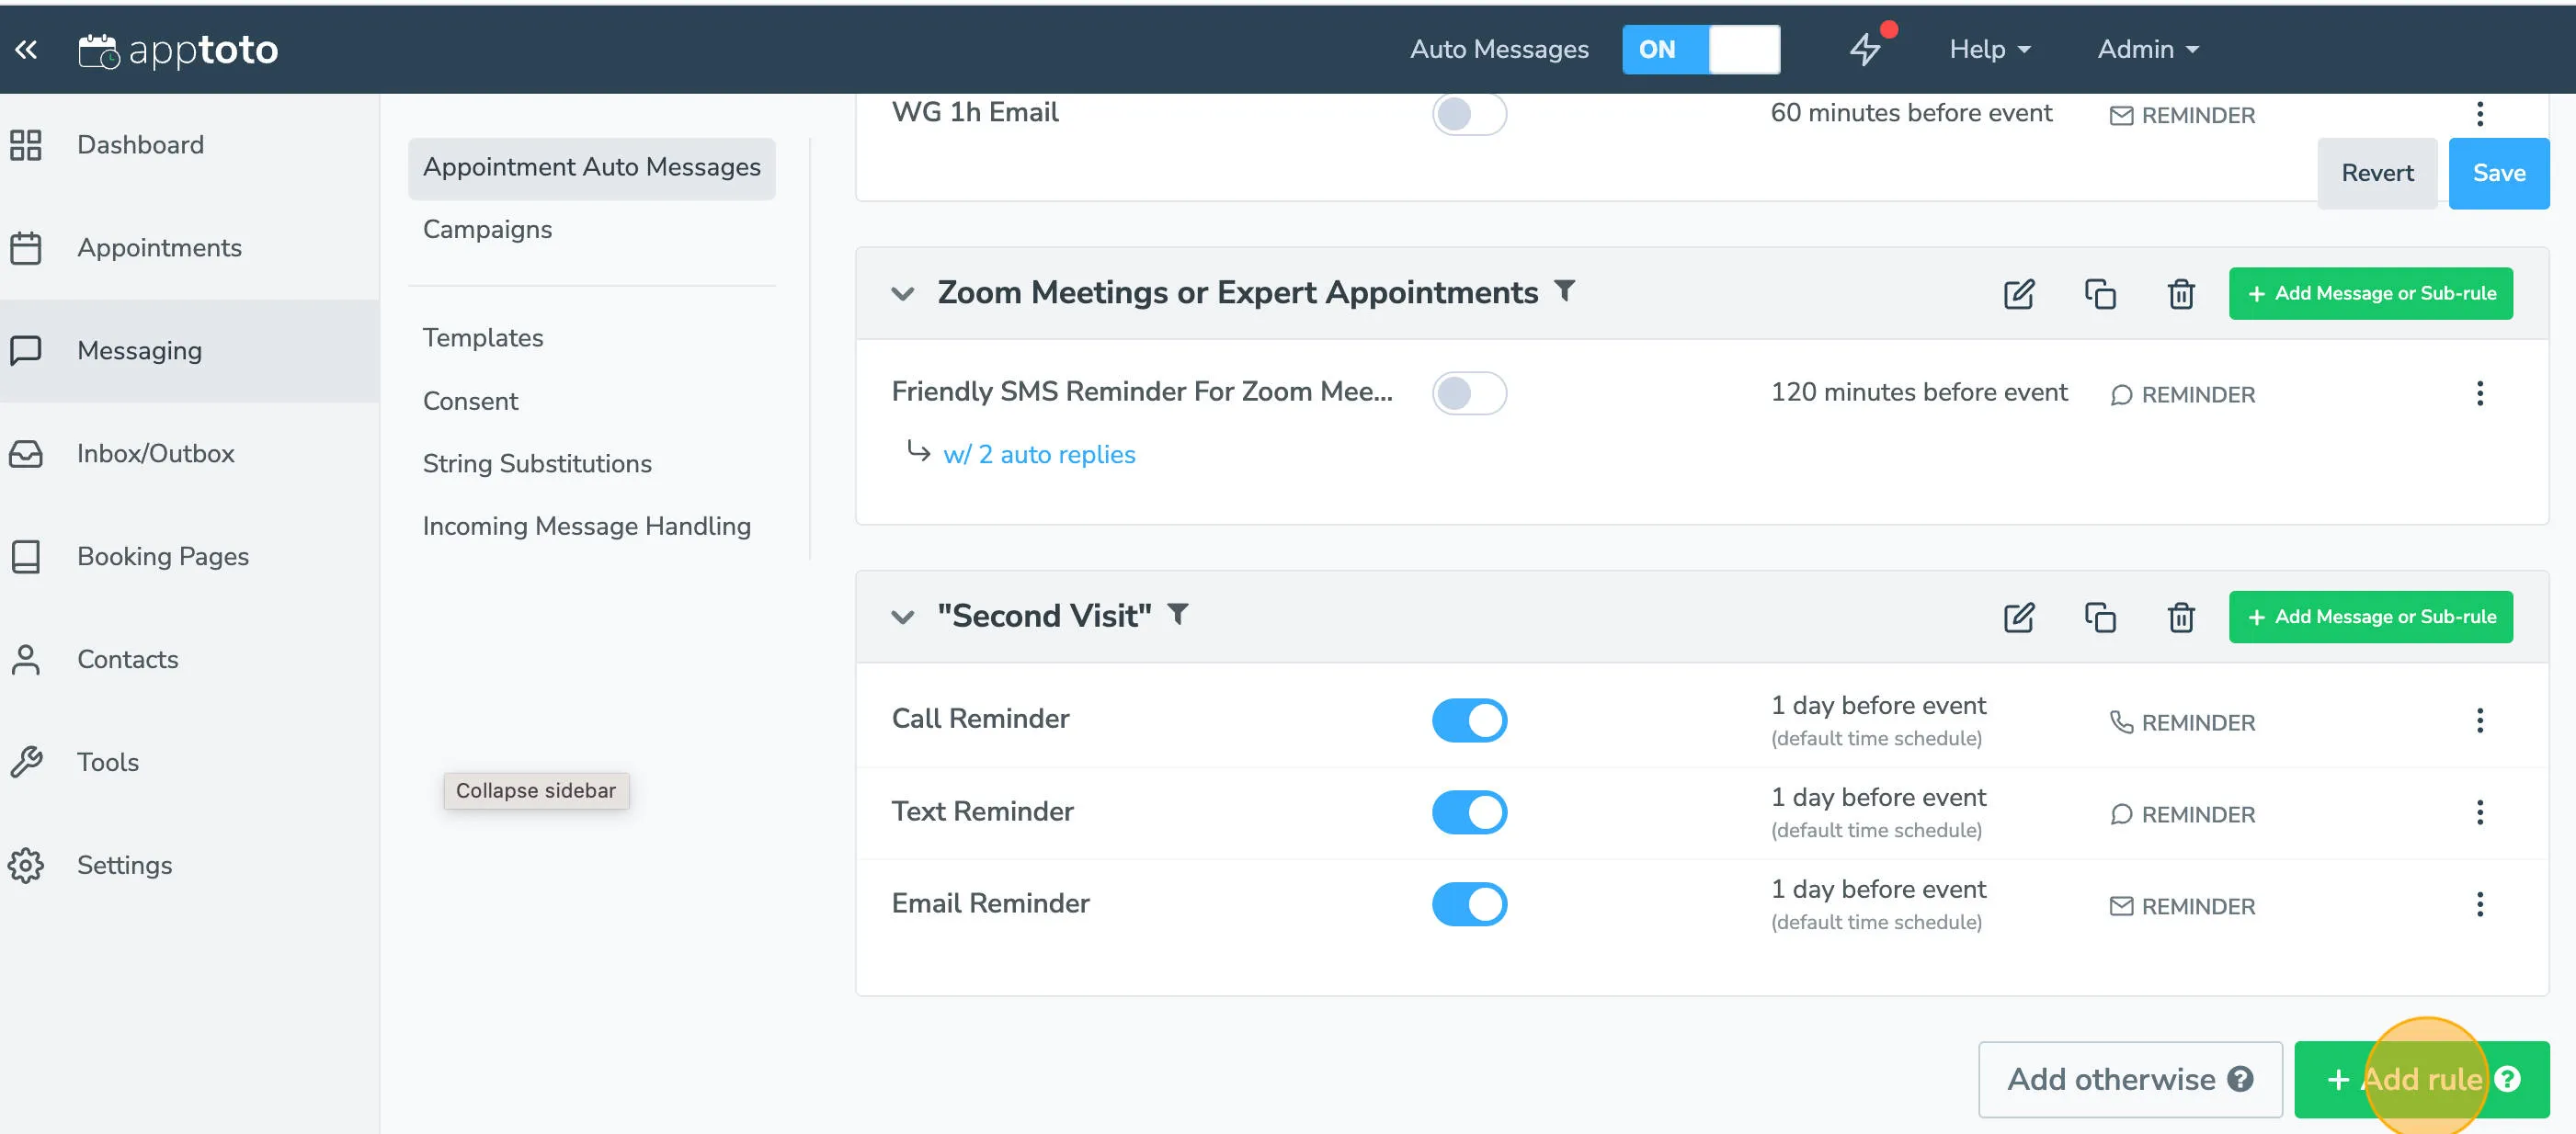
Scroll to the bottom and click + Add Rule.
-
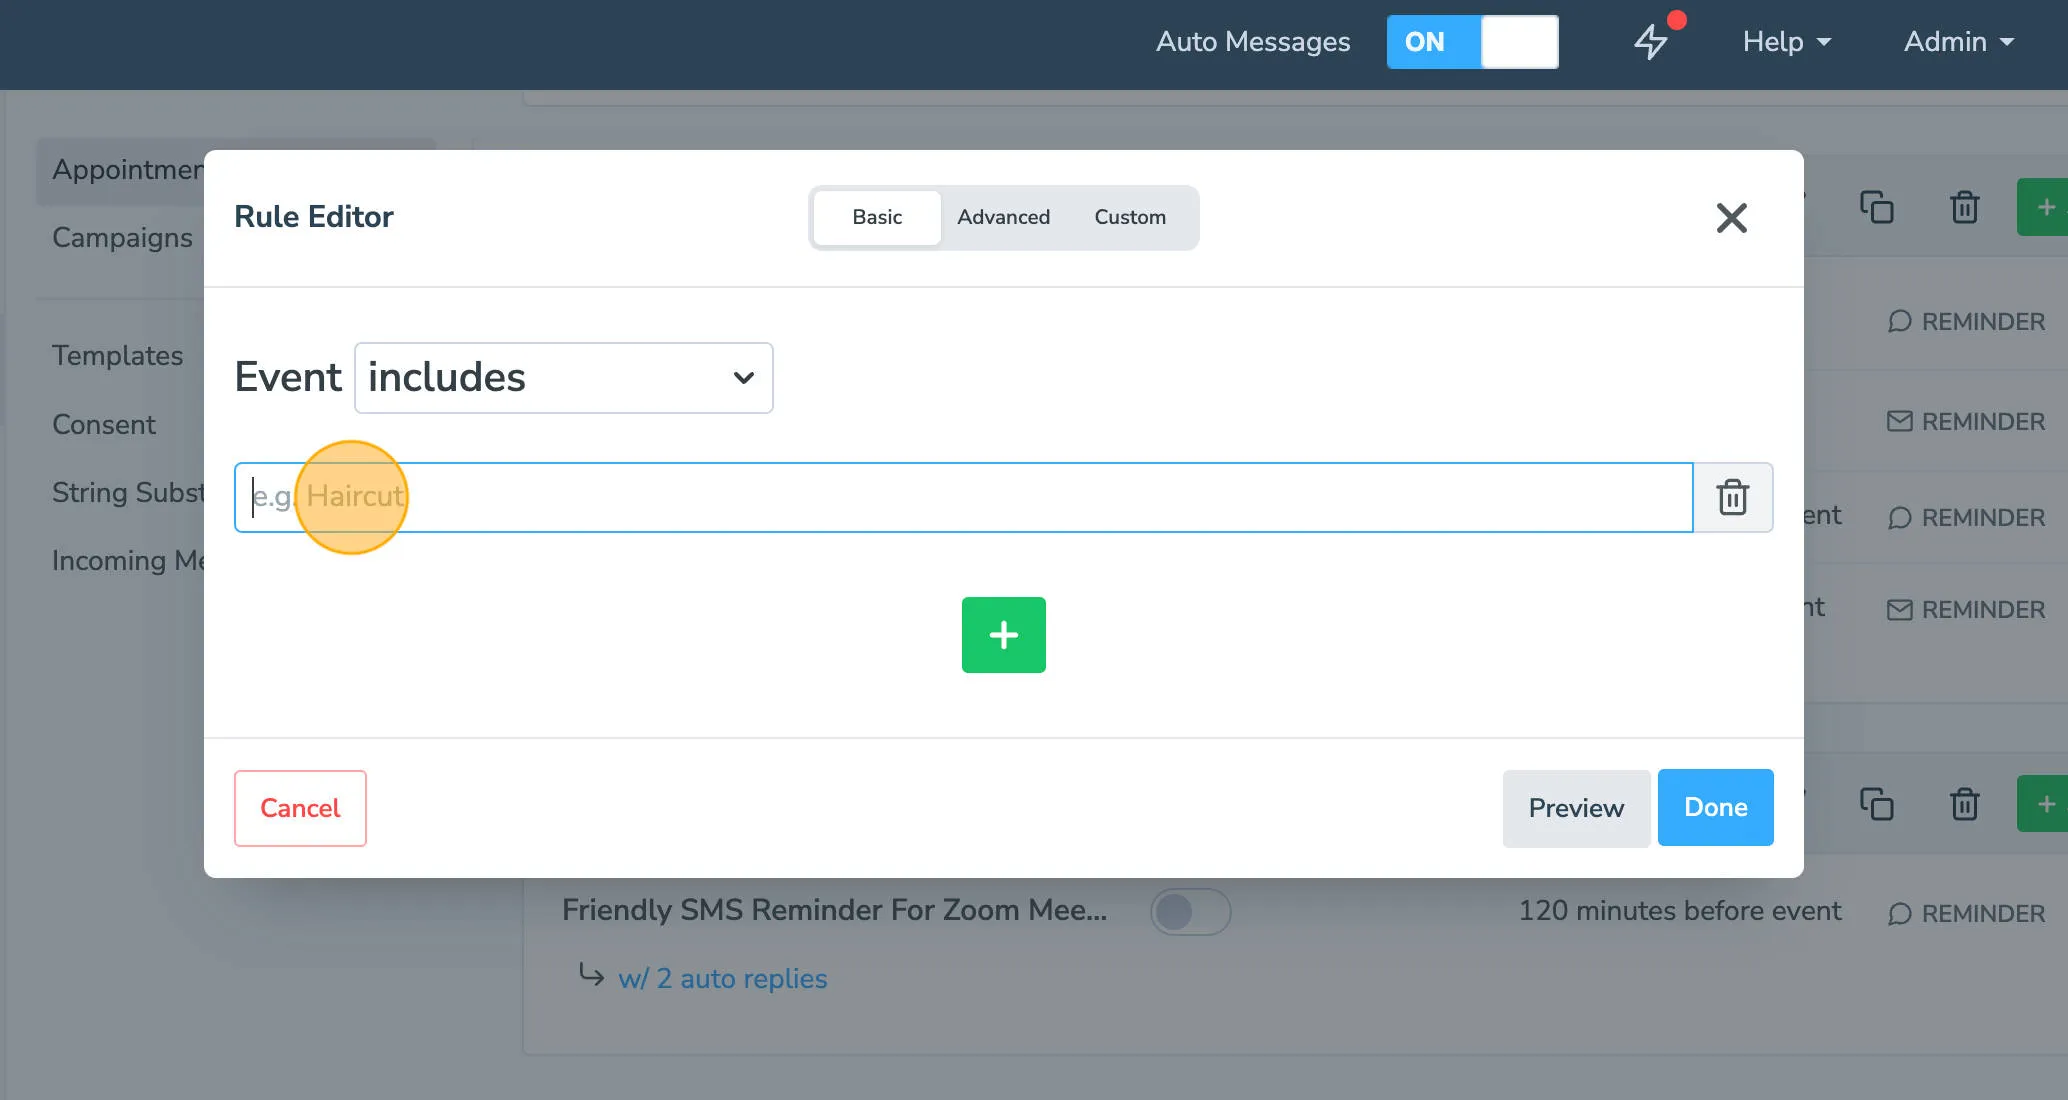
The Rule Editor will appear. Enter the keyword you want Apptoto to search for in your event title or description. You can use a basic, advanced, or custom filtering rule.
-
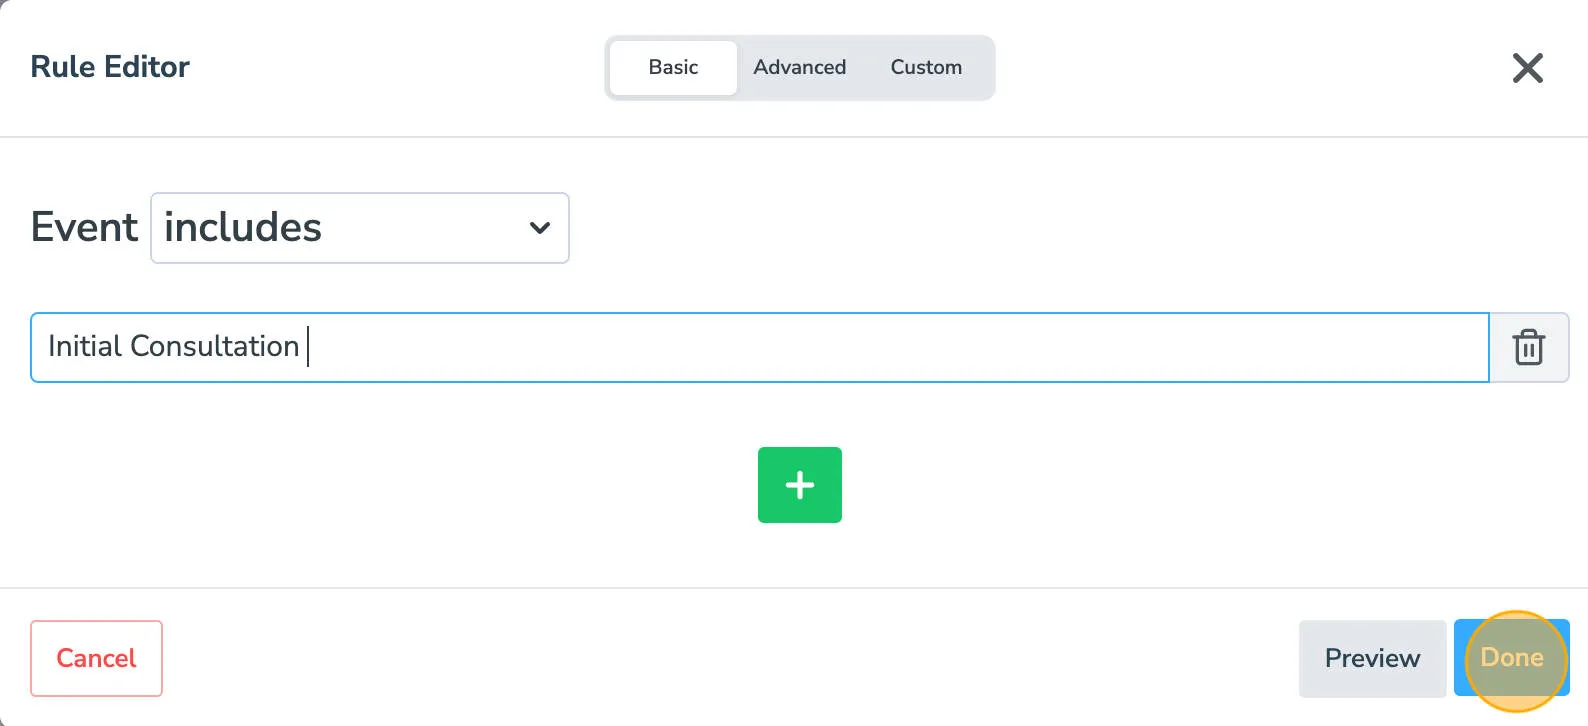
Type your keyword (such as “Initial Consultation”) and click Done.
-
Apptoto will now send auto messages exclusively to appointments containing that keyword.
-
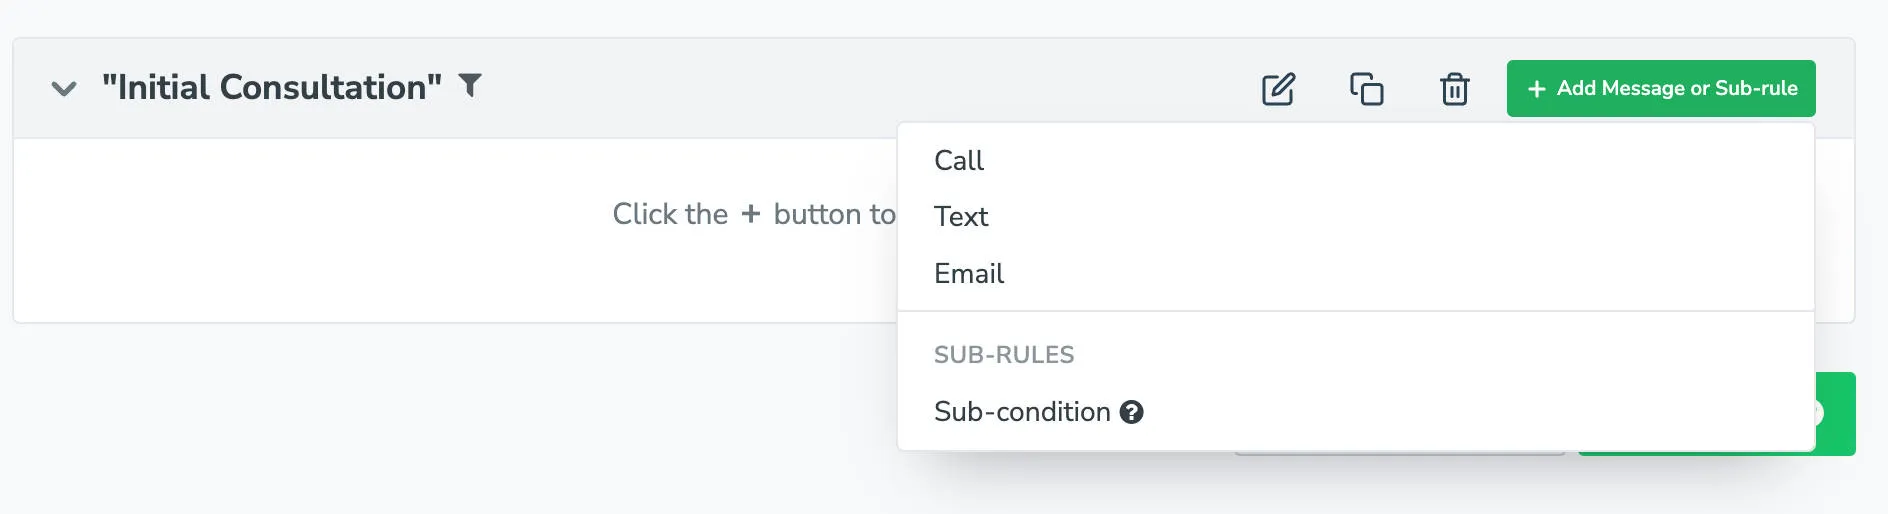
Under your new rule, click + Add Message or Sub-Rule to begin building your message sequence.
-
When creating messages, specify a name, purpose (confirmation, reminder, or follow-up), delivery timing, language, content, and any auto-replies. Consult the Auto Messages section for complete customization details.

-
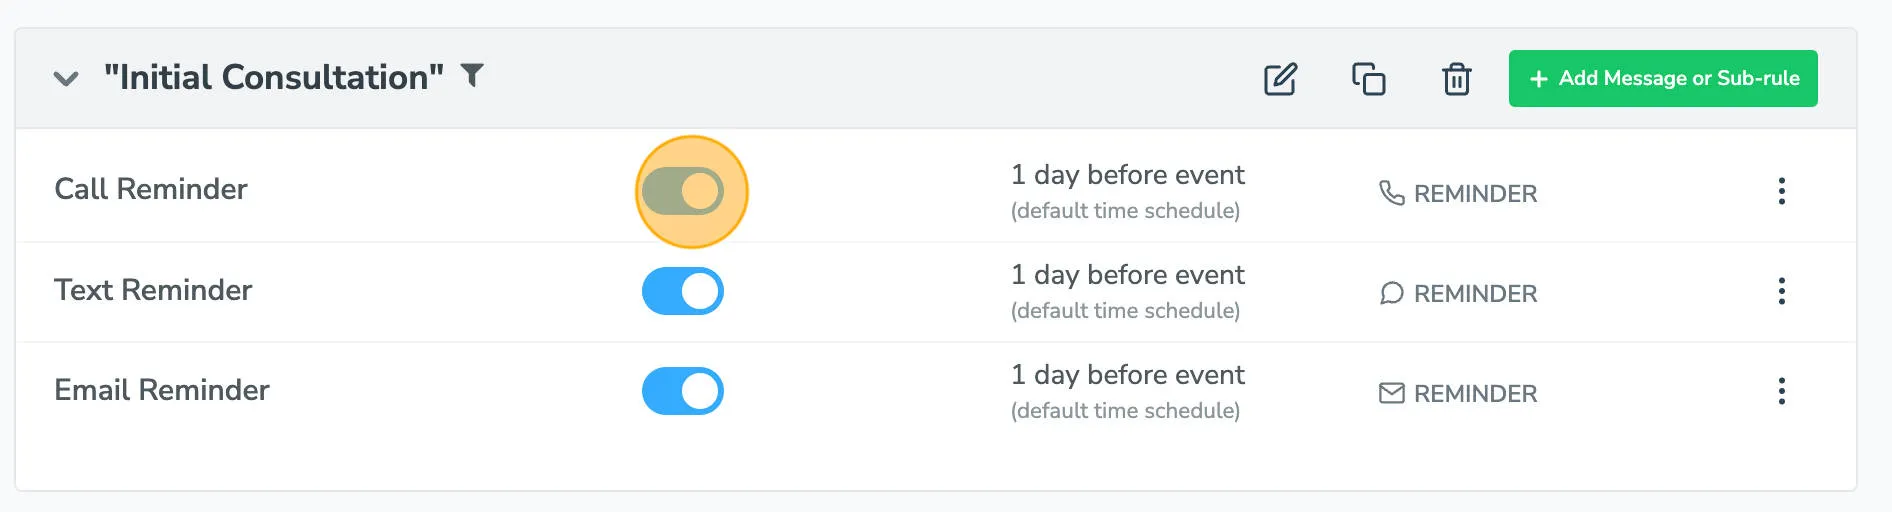
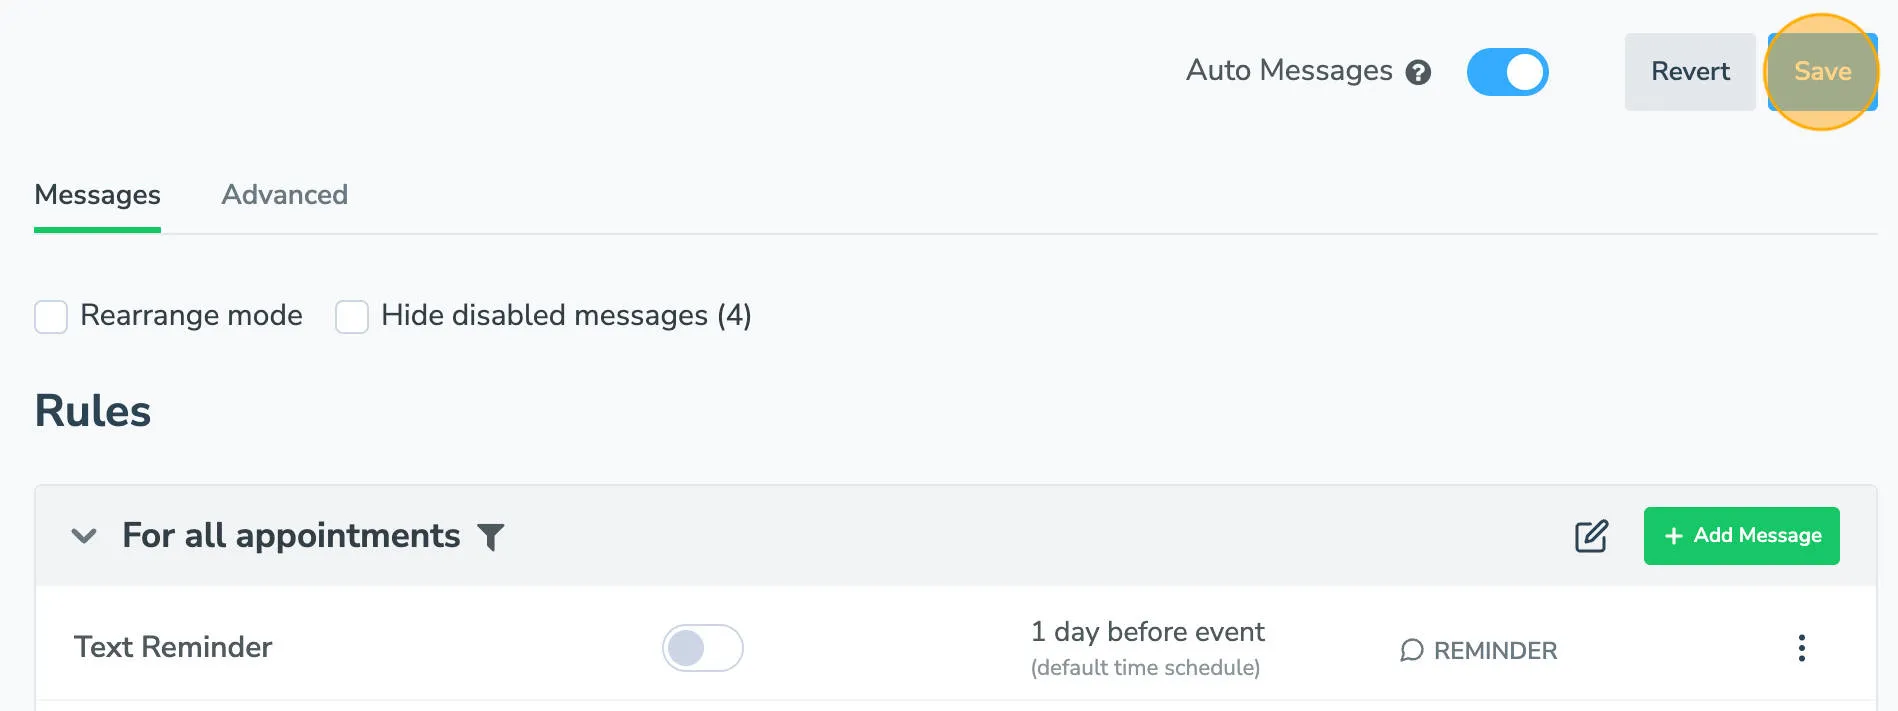
In this example, an SMS text, email, and voice call reminder have been configured. Toggle the blue switch to disable any specific reminder type.
-
Click Save in the upper right corner to preserve your changes.
Verify the rule is working
Section titled “Verify the rule is working”-
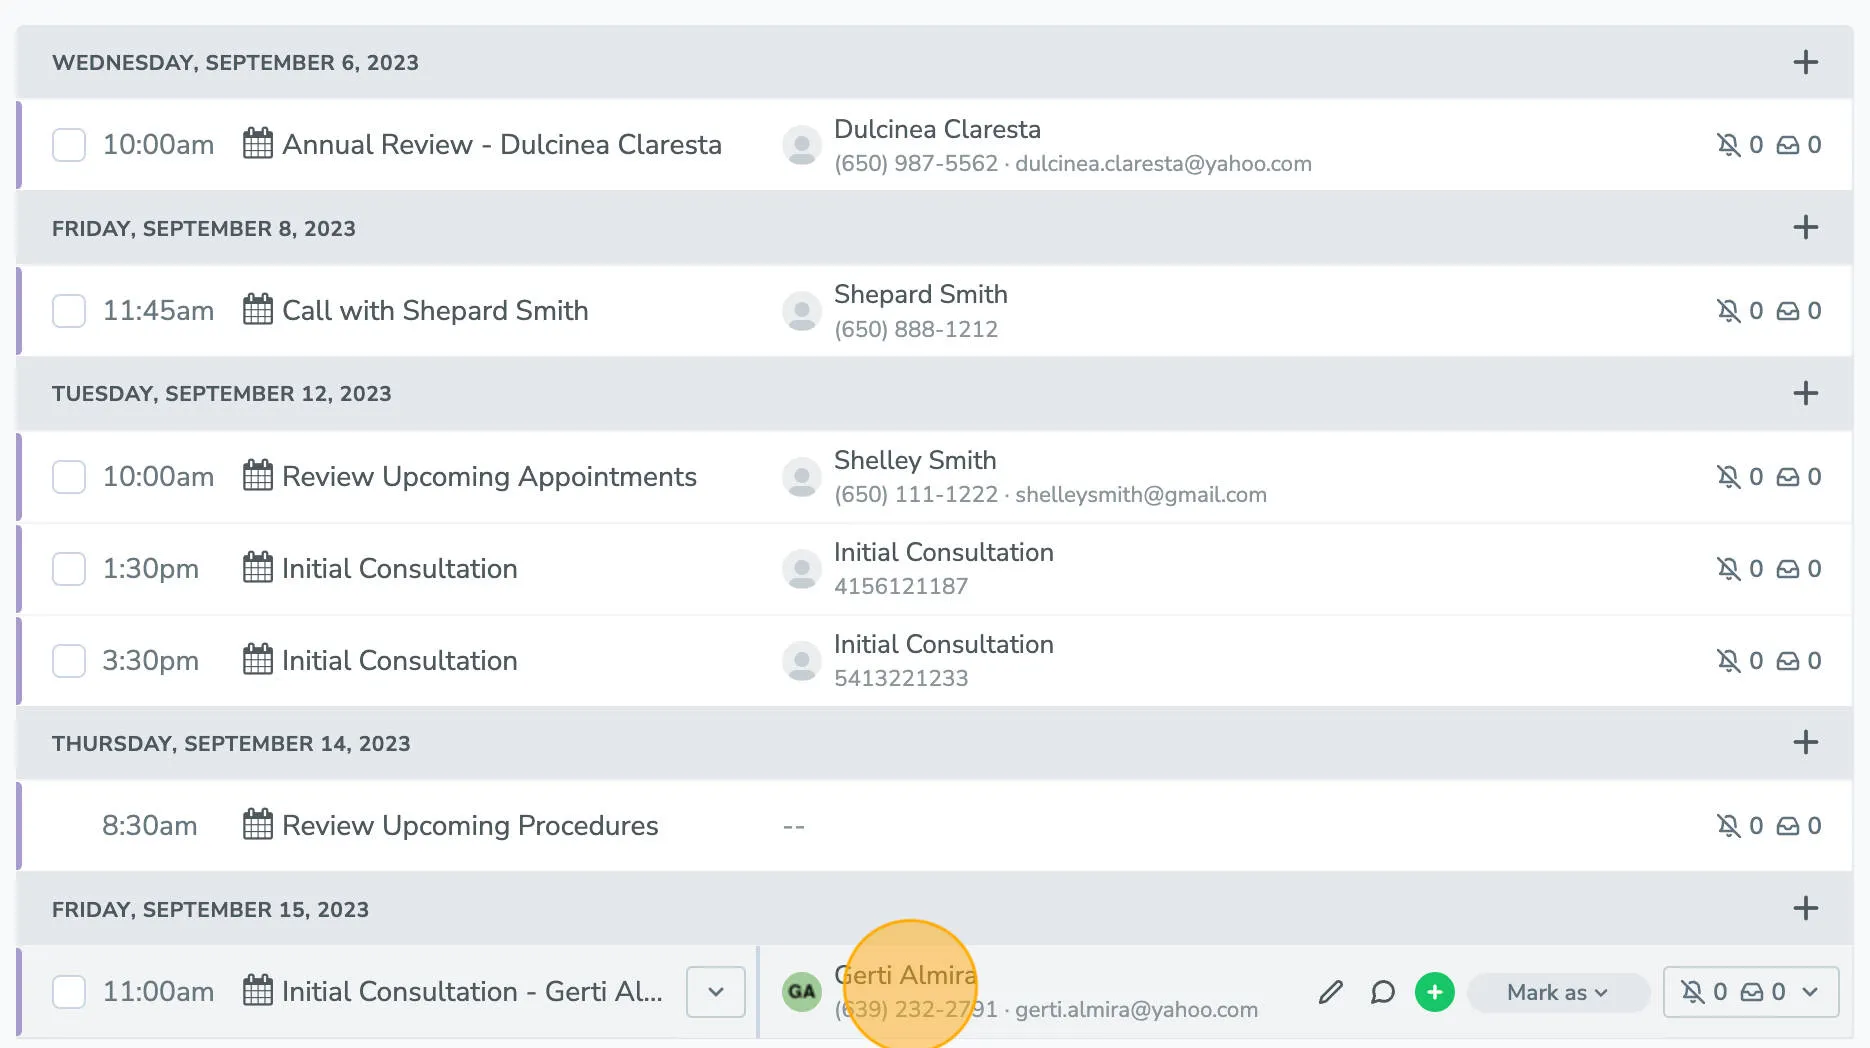
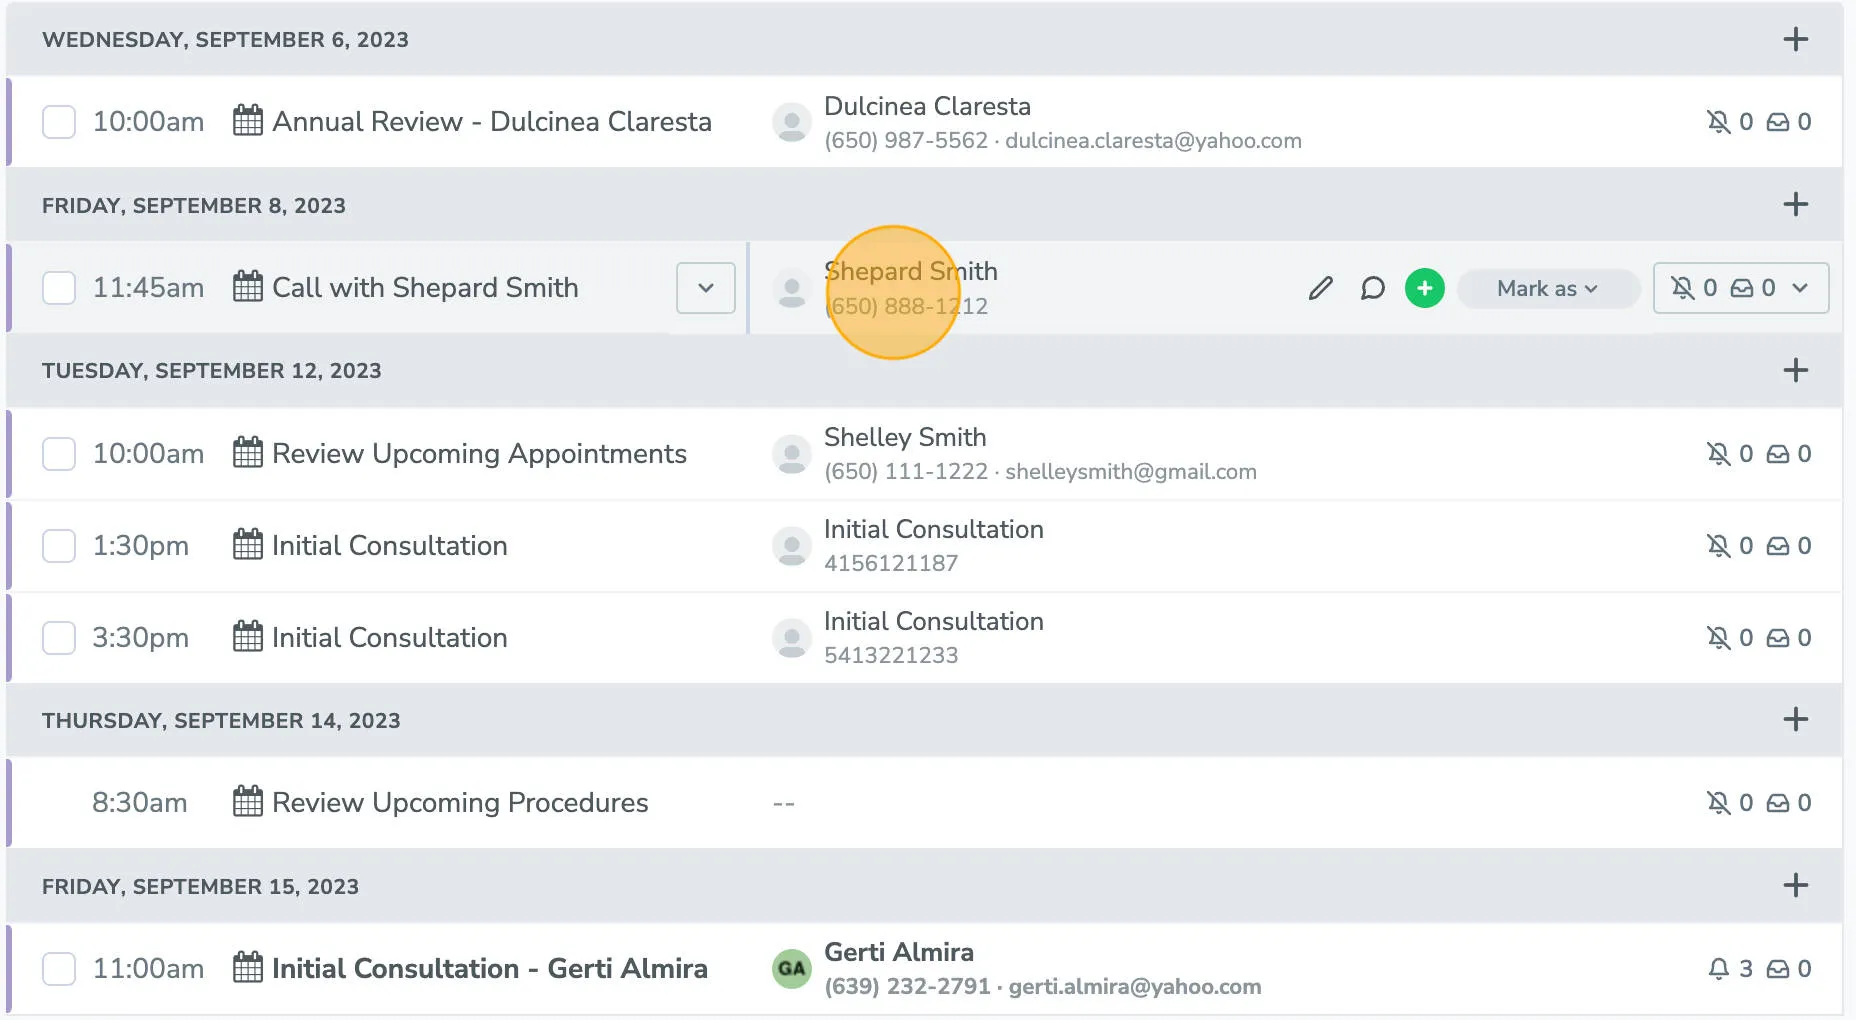
To verify your rule is working, navigate to the Appointments tab.
-
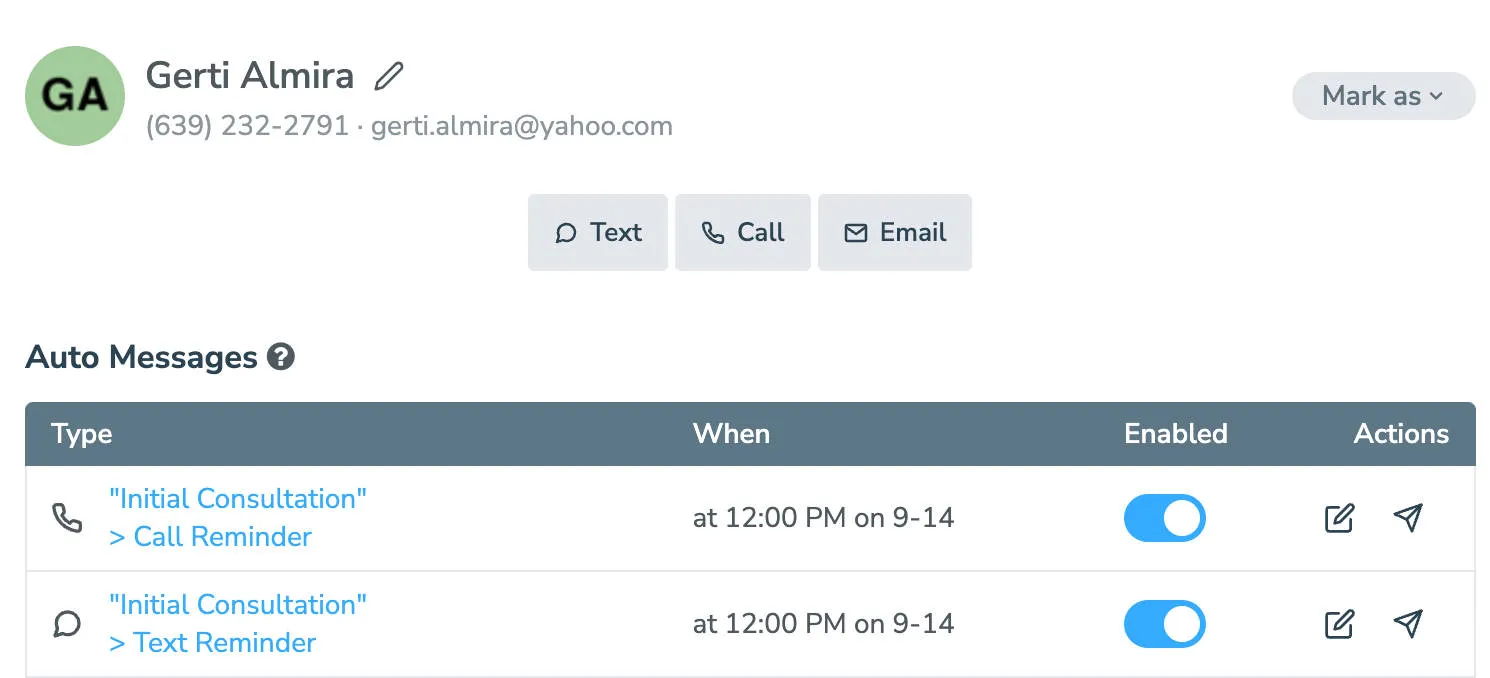
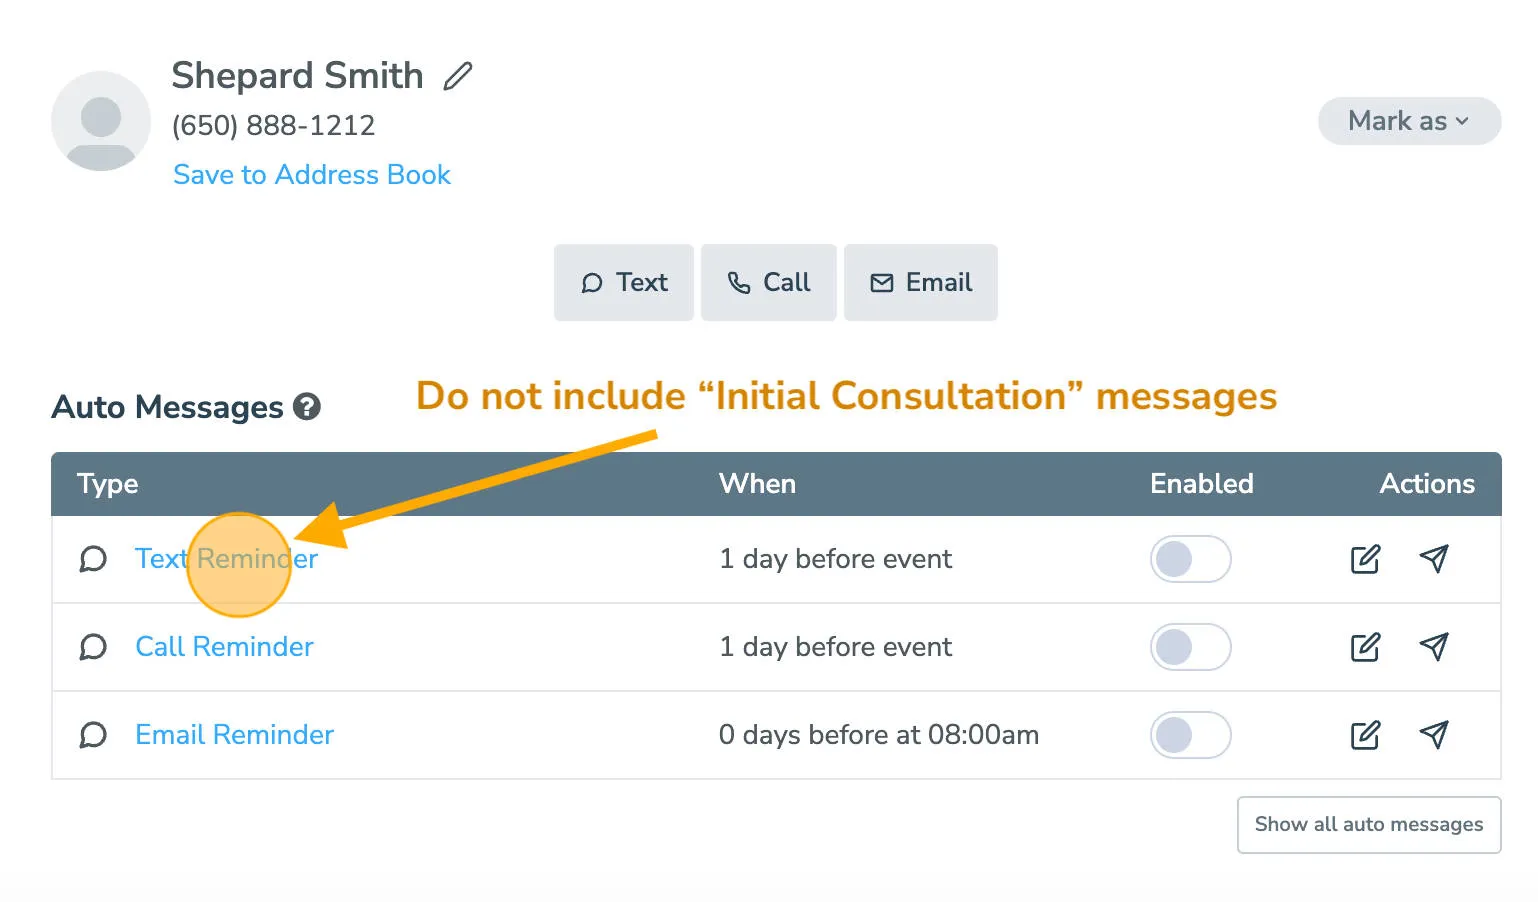
Select a participant whose appointment includes your keyword — you should see only the filtered auto messages appear.
-
Choose a different appointment without your keyword — this will display messages from the default For All Appointments rule instead.
What’s next
Section titled “What’s next”Now that you’ve set up your automated messaging rules to control which appointments receive booking confirmations, appointment reminders, and follow ups, you can enable automated messaging for your appointments.